
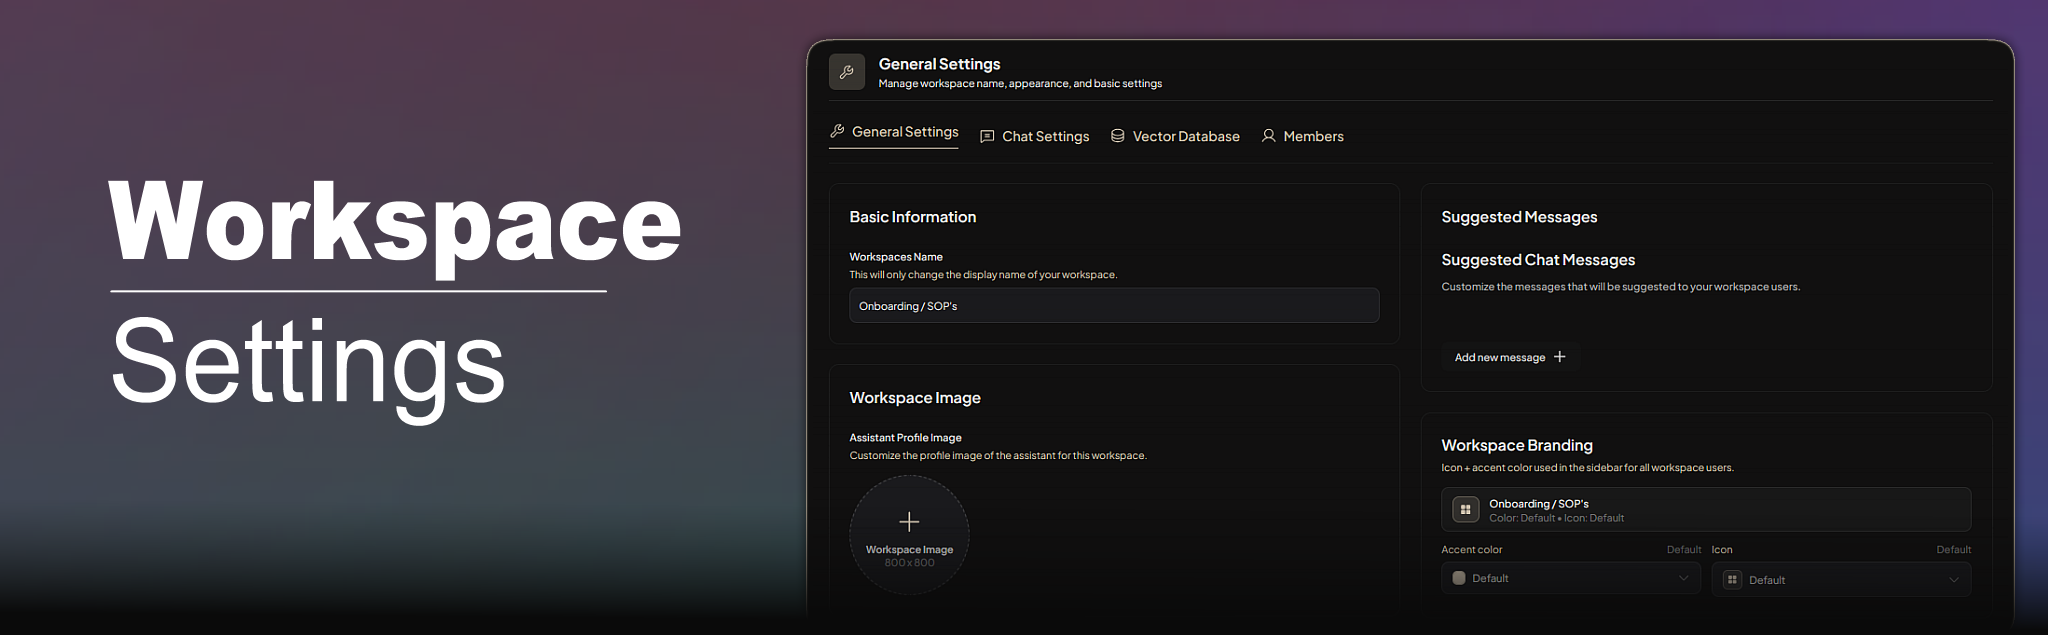
 Key features
- Per-workspace configuration — Each workspace has its own settings, independent of others
- Tabbed interface — Four tabs organize settings by purpose
- Role-based access — Managers and admins can edit; the Members tab is restricted to admins and managers
- Live updates — Changes take effect after you click Update workspace
How to access

From the Workspace Dashboard:
- Open a workspace.
- Click the Settings (gear) icon in the quick action bar.
- You land on the General Appearance tab.
From the sidebar:
- Hover over the workspace name and choose the settings option (gear icon).
Direct URL:
- General:
/workspace/[slug]/settings/general-appearance - Chat:
/workspace/[slug]/settings/chat-settings - Vector Database:
/workspace/[slug]/settings/vector-database - Members:
/workspace/[slug]/settings/members
Settings tabs overview
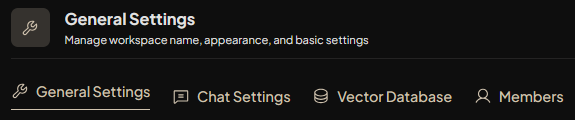
| Tab | Purpose |
| General Appearance | Workspace name, image, branding, suggested chat messages, and delete workspace |
| Chat Settings | AI model, chat mode, system prompts, temperature, history, and refusal response |
| Vector Database | Document search settings (snippets, similarity threshold) and database reset |
| Members | Add or remove users who can access the workspace |
Saving changes
- General Appearance — Some sections (e.g., name, branding) show Update workspace when you make changes; click it to save.
- Suggested Messages — Use the Save button in that section.
- Chat Settings and Vector Database — A single Update workspace button appears when anything changes; it saves all modified settings.
- Members — Changes are saved from within the Manage Users modal.